Articles
Tutorials
Interactive Guides
Setup the AWS SageMaker pre-trained model
.png?cdnVersion=3315)
Warren Marusiak
Senior Technical Evangelist
To demonstrate how to develop, deploy, and manage applications using Jira Software and various connected tools, our team created ImageLabeller, a simple demo application built on AWS that uses machine learning to apply labels to images.
This page covers how to setup an AWS SageMaker predefined model, a prerequisite for ImageLabeller to successfully process images. Before you begin, we recommend reading the ImageLabeller architecture for context.
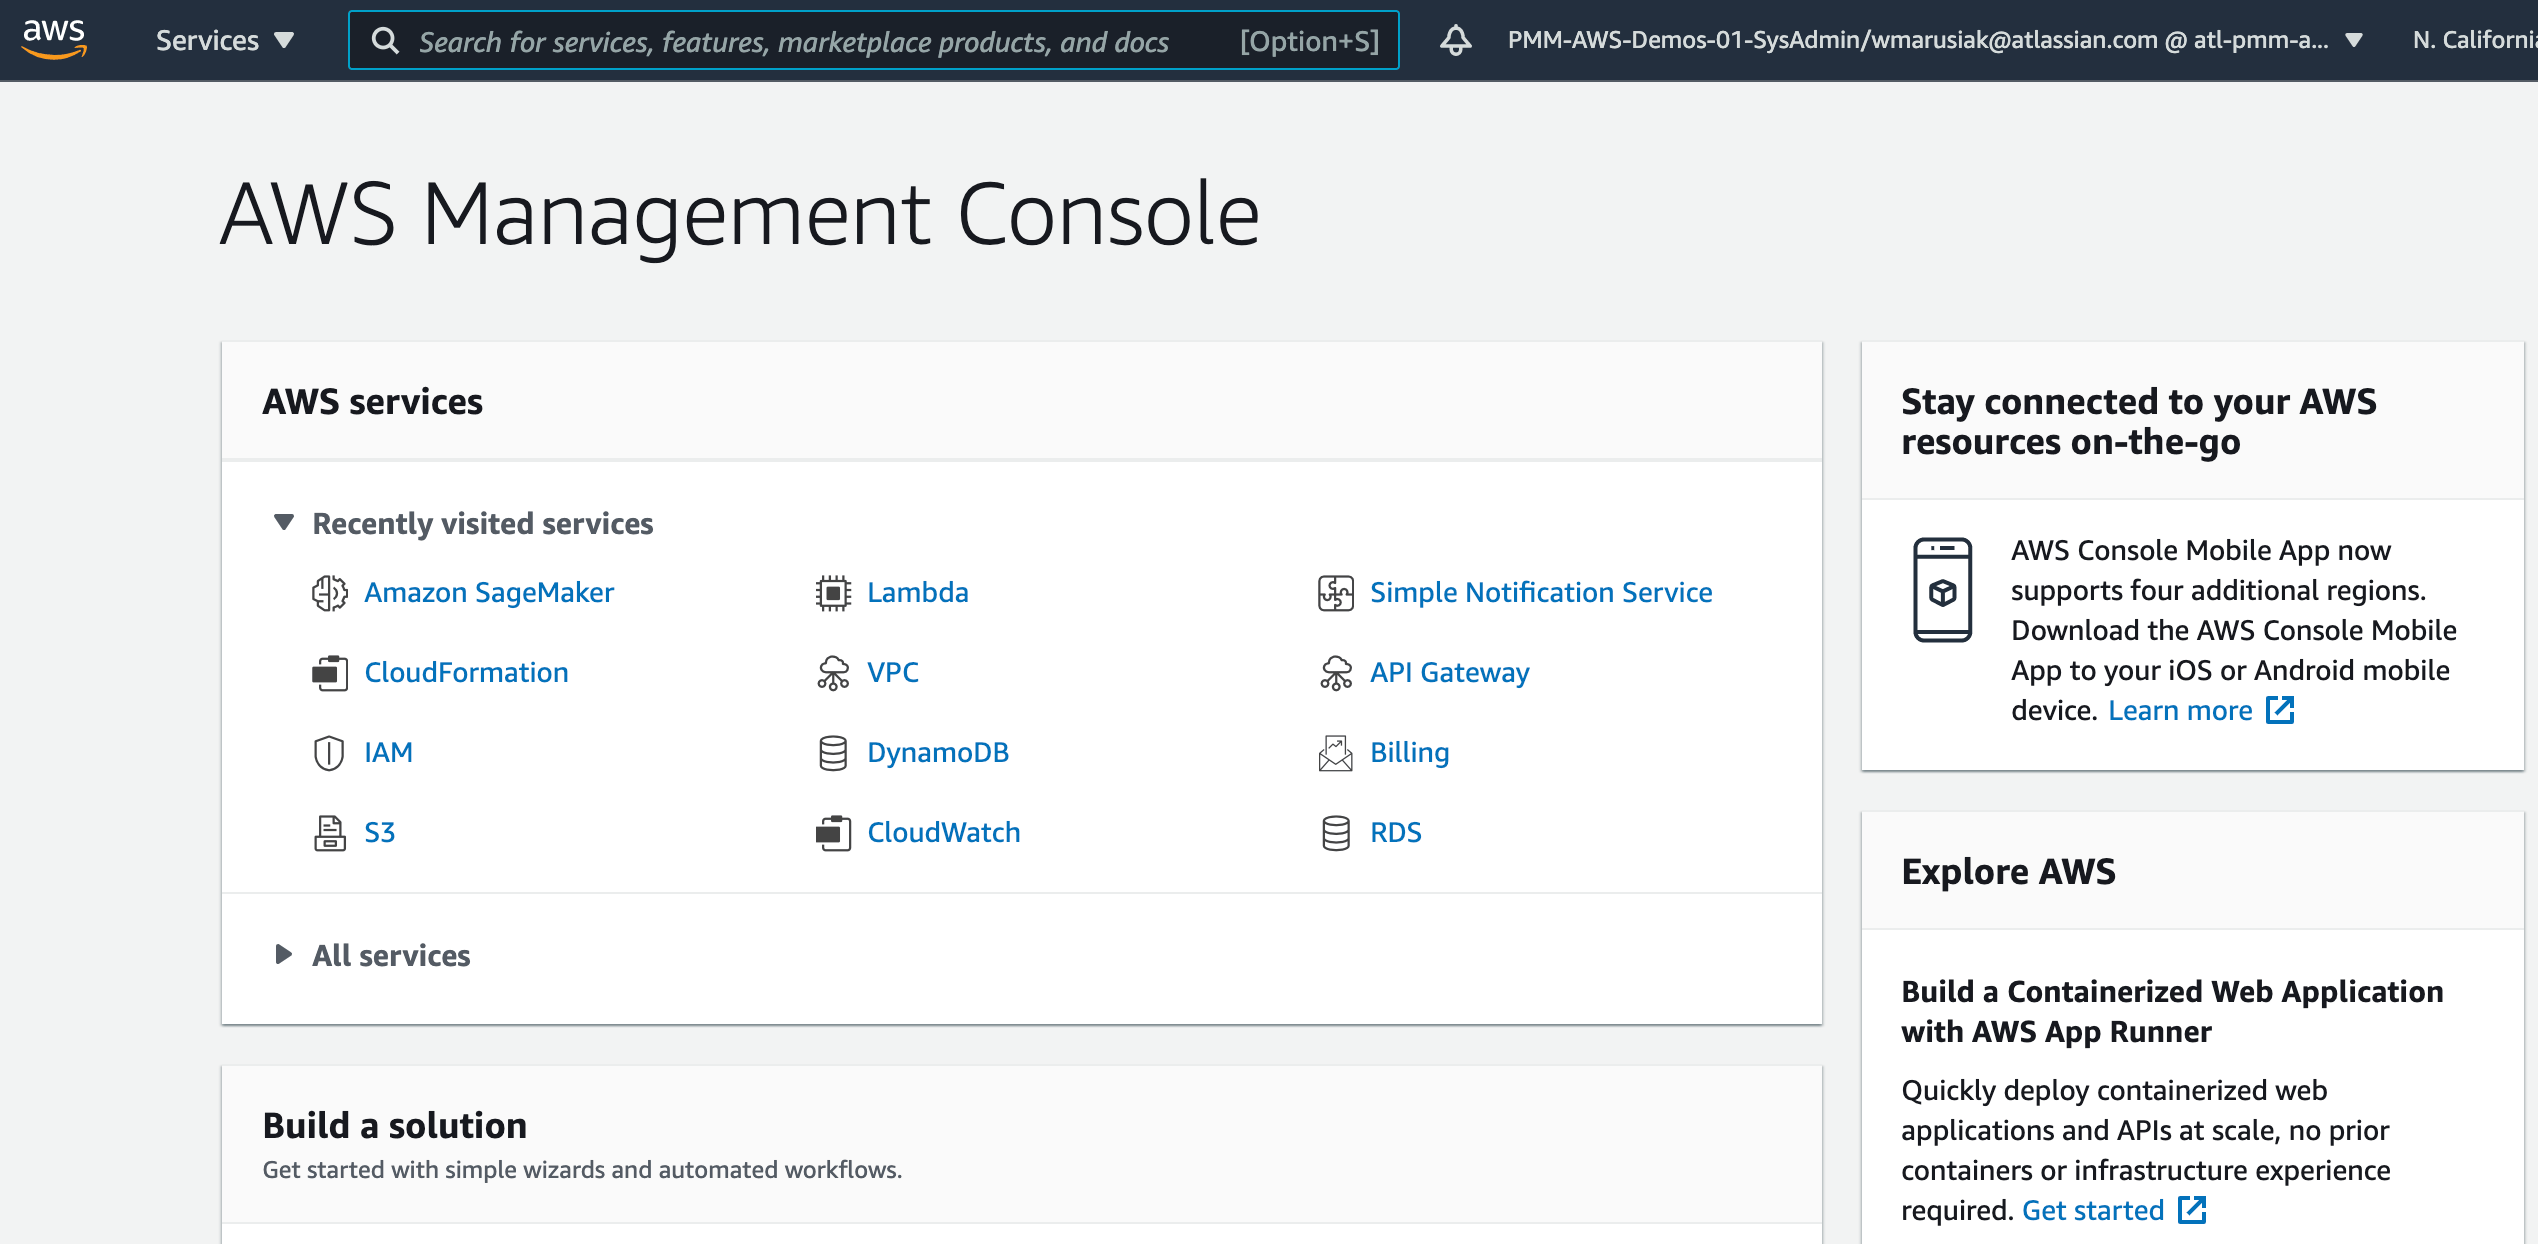
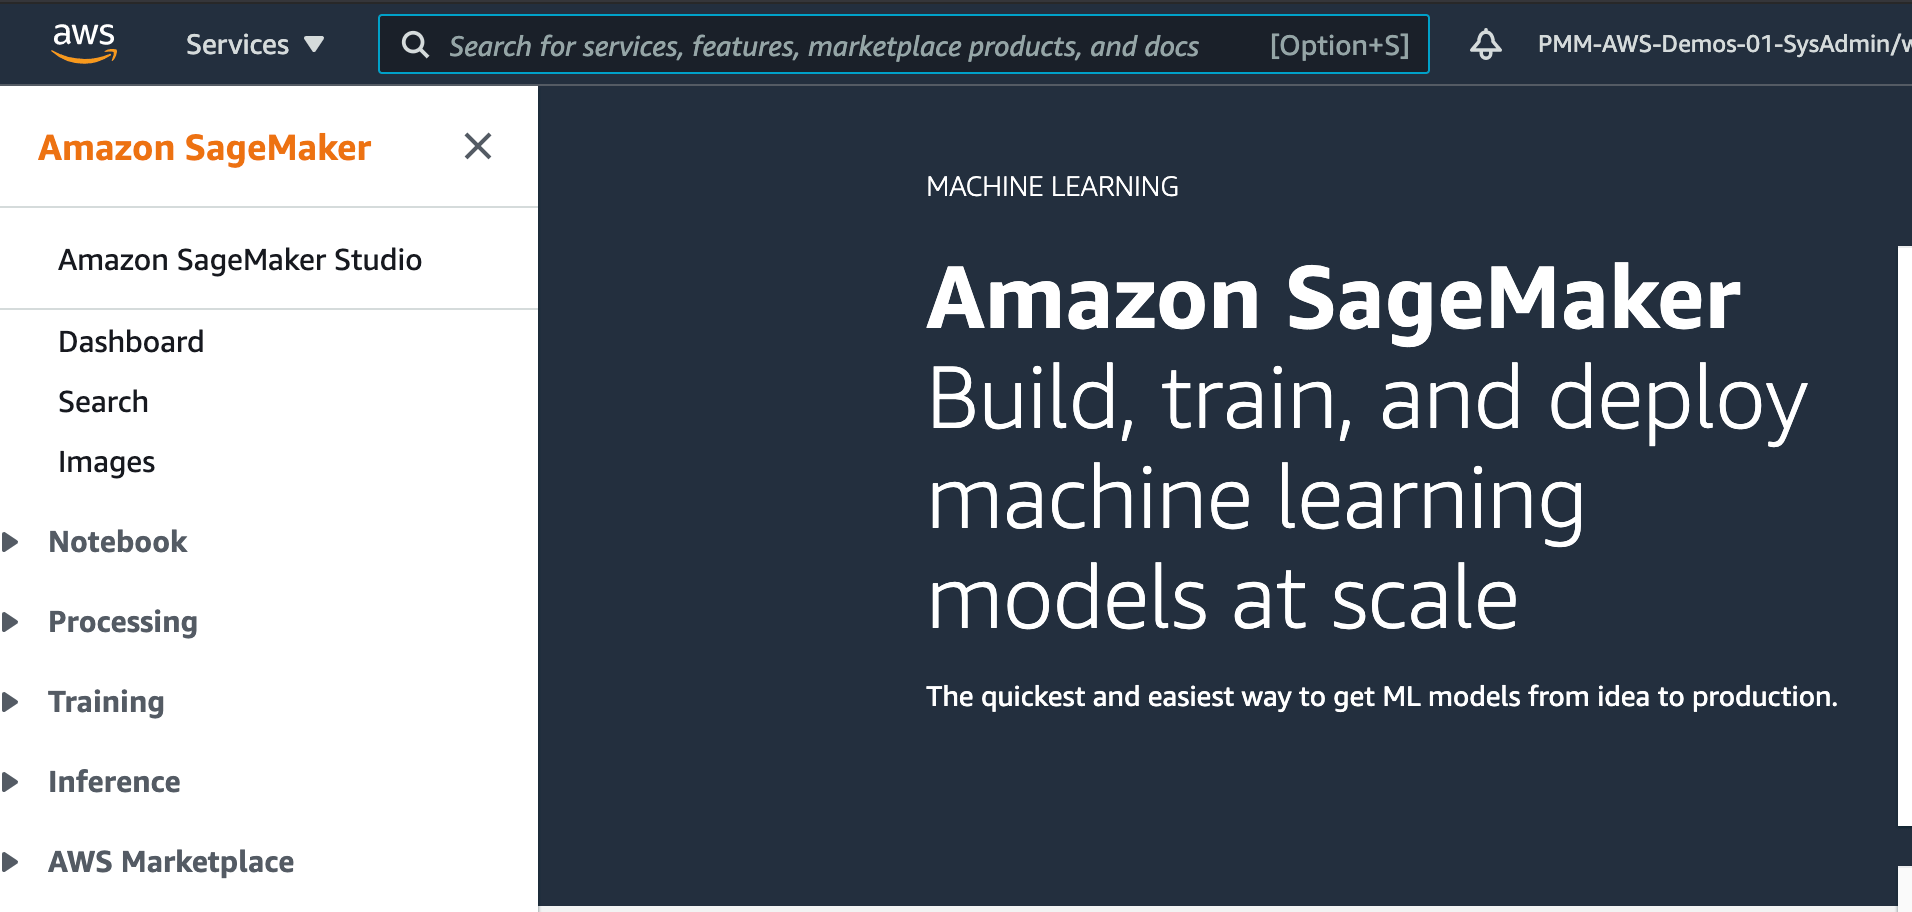
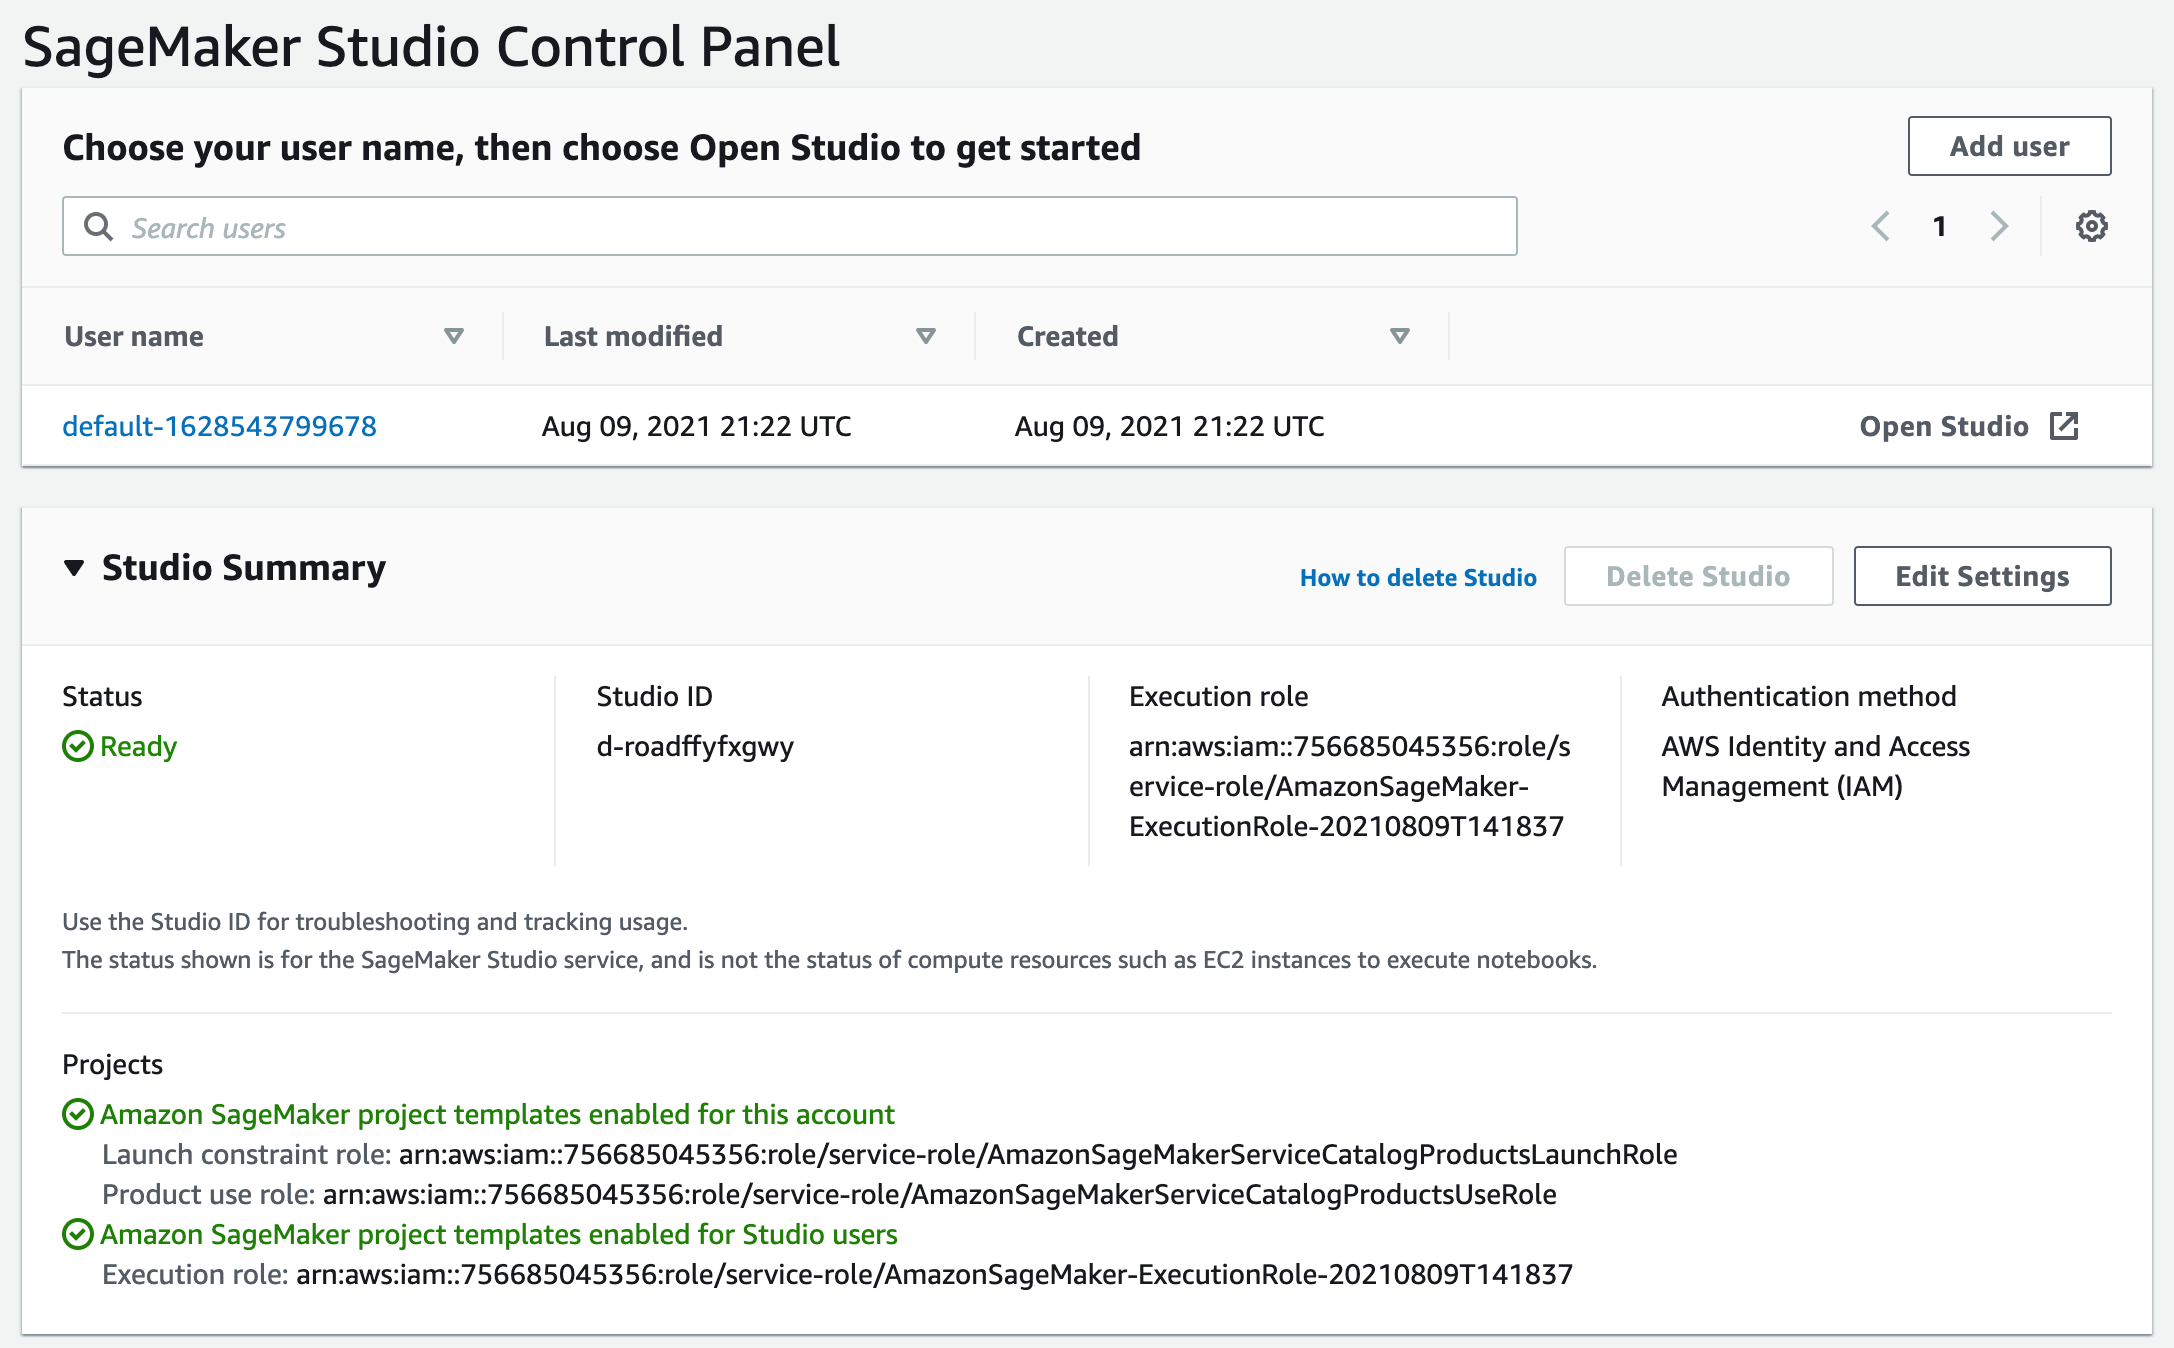
Log in to AWS Console and navigate to Amazon SageMaker.
Go to Amazon SageMaker Studio.
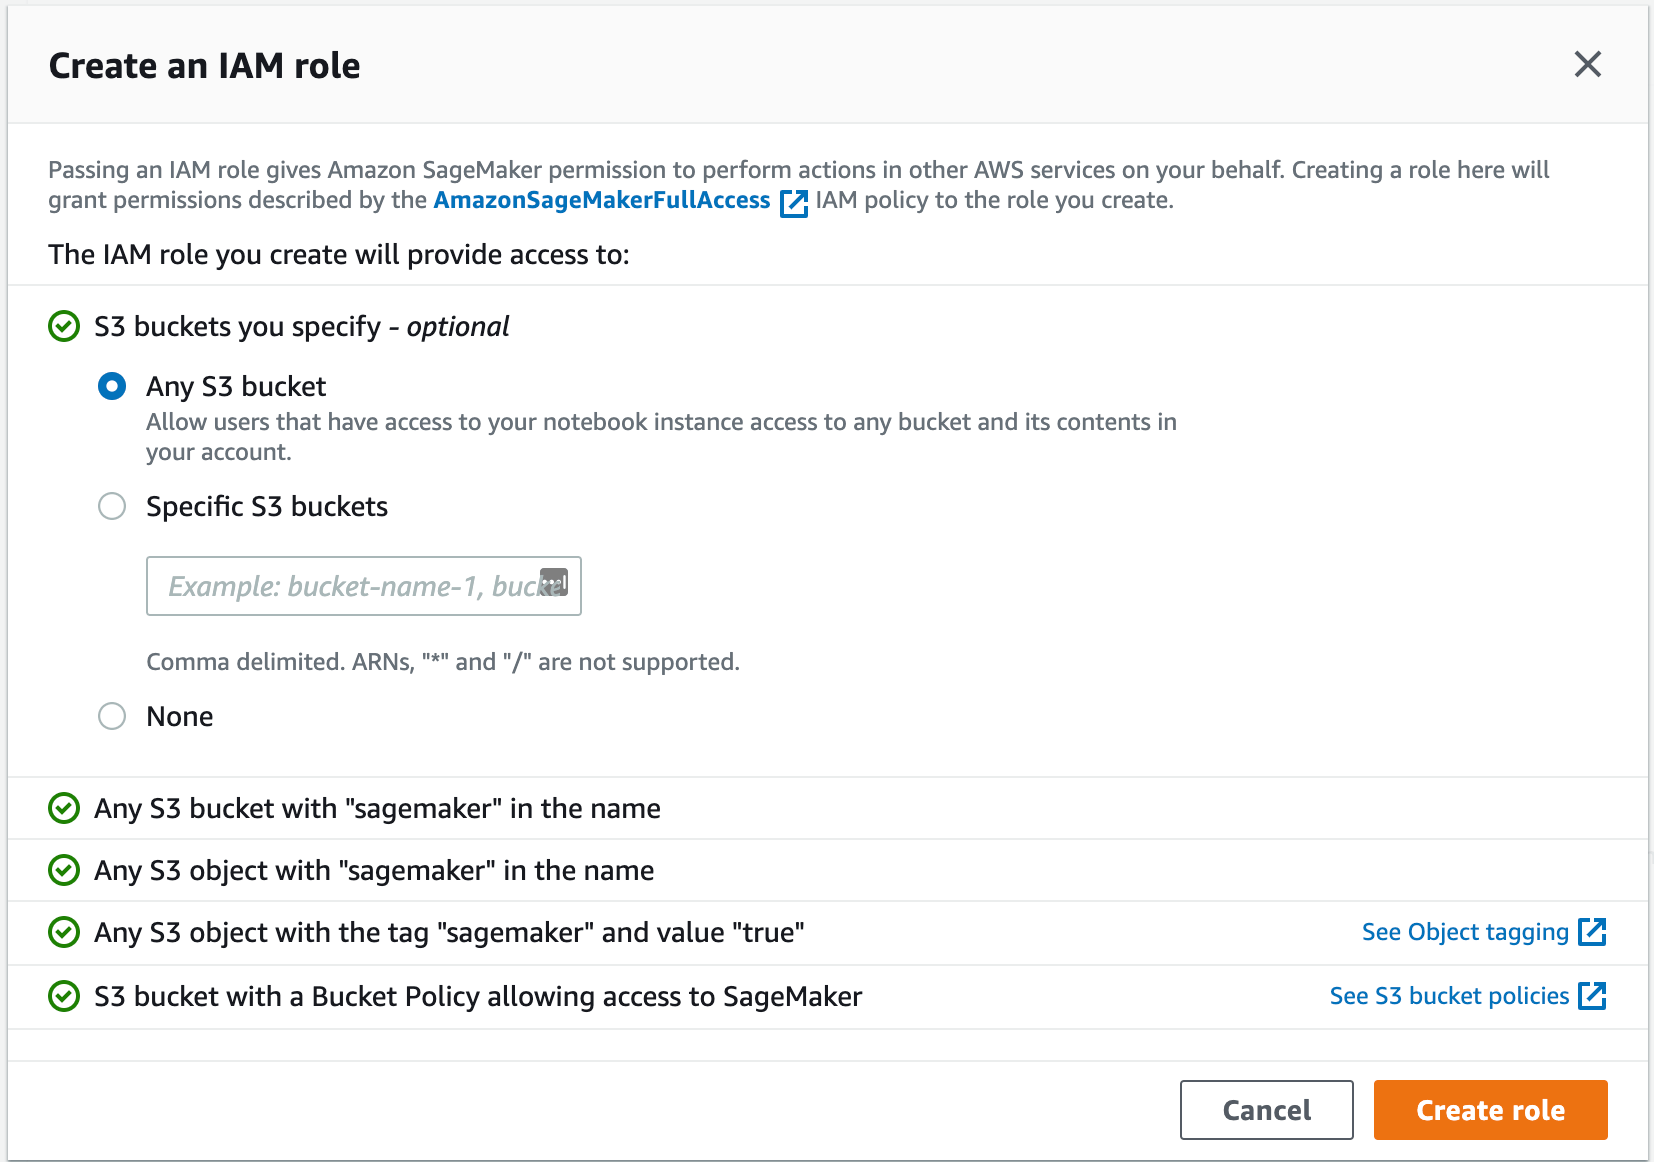
Choose Quick start > Execution role > Create an IAM role.
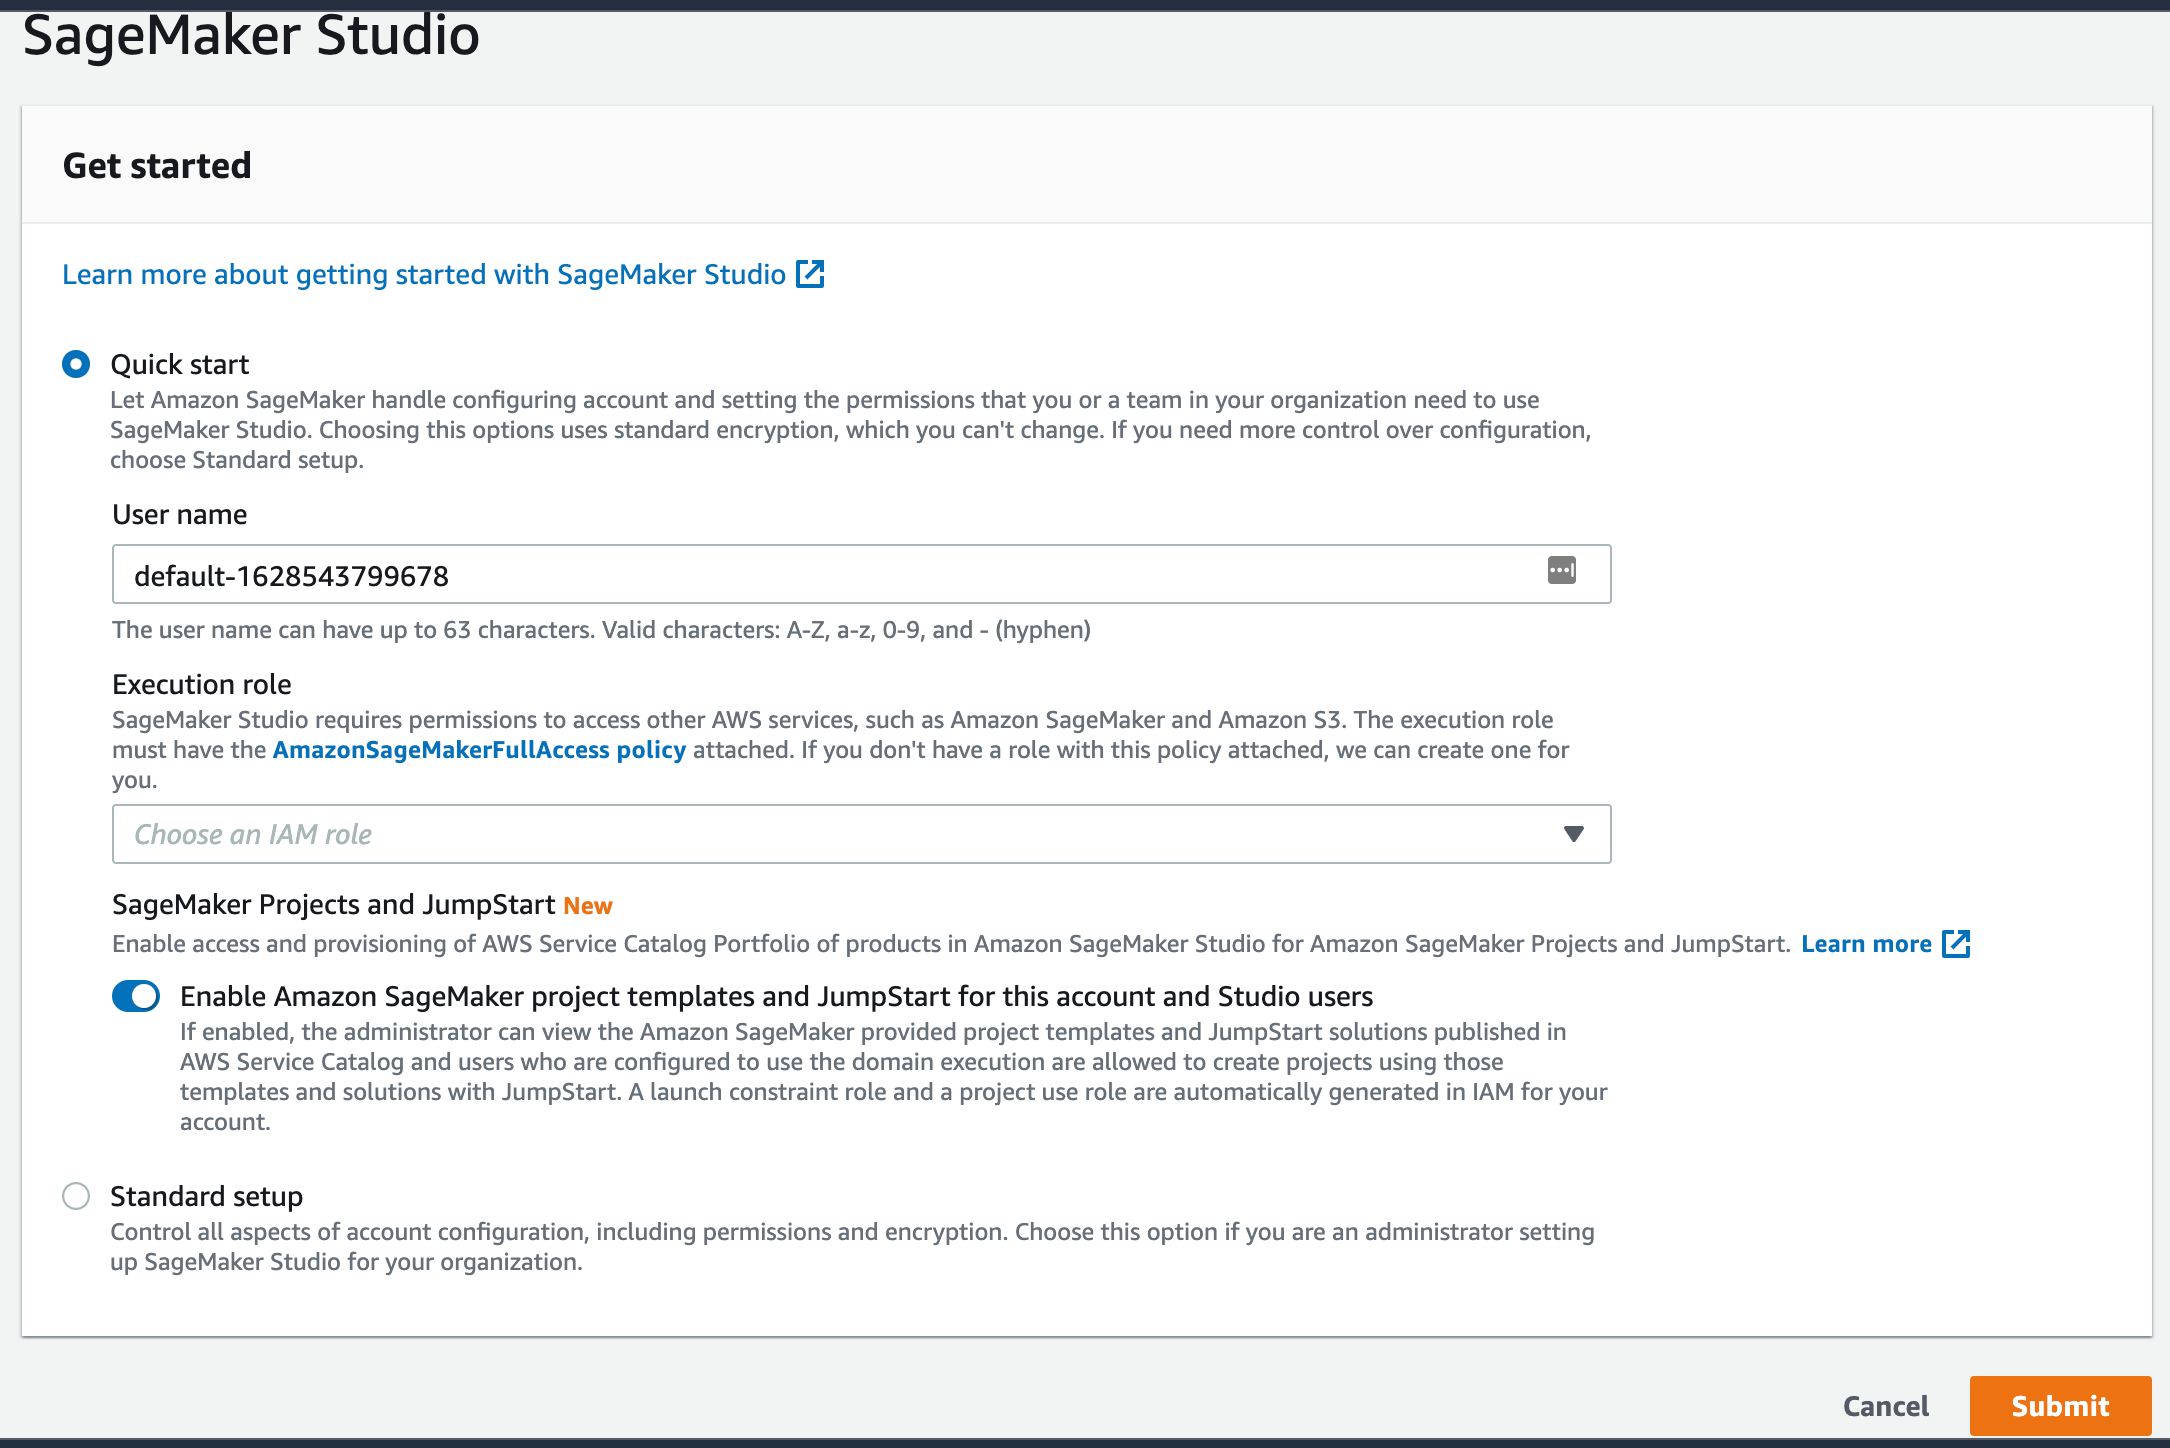
Click Create role. Then click Submit.
SageMaker will take a while to setup. Once it’s ready, click Open Studio.
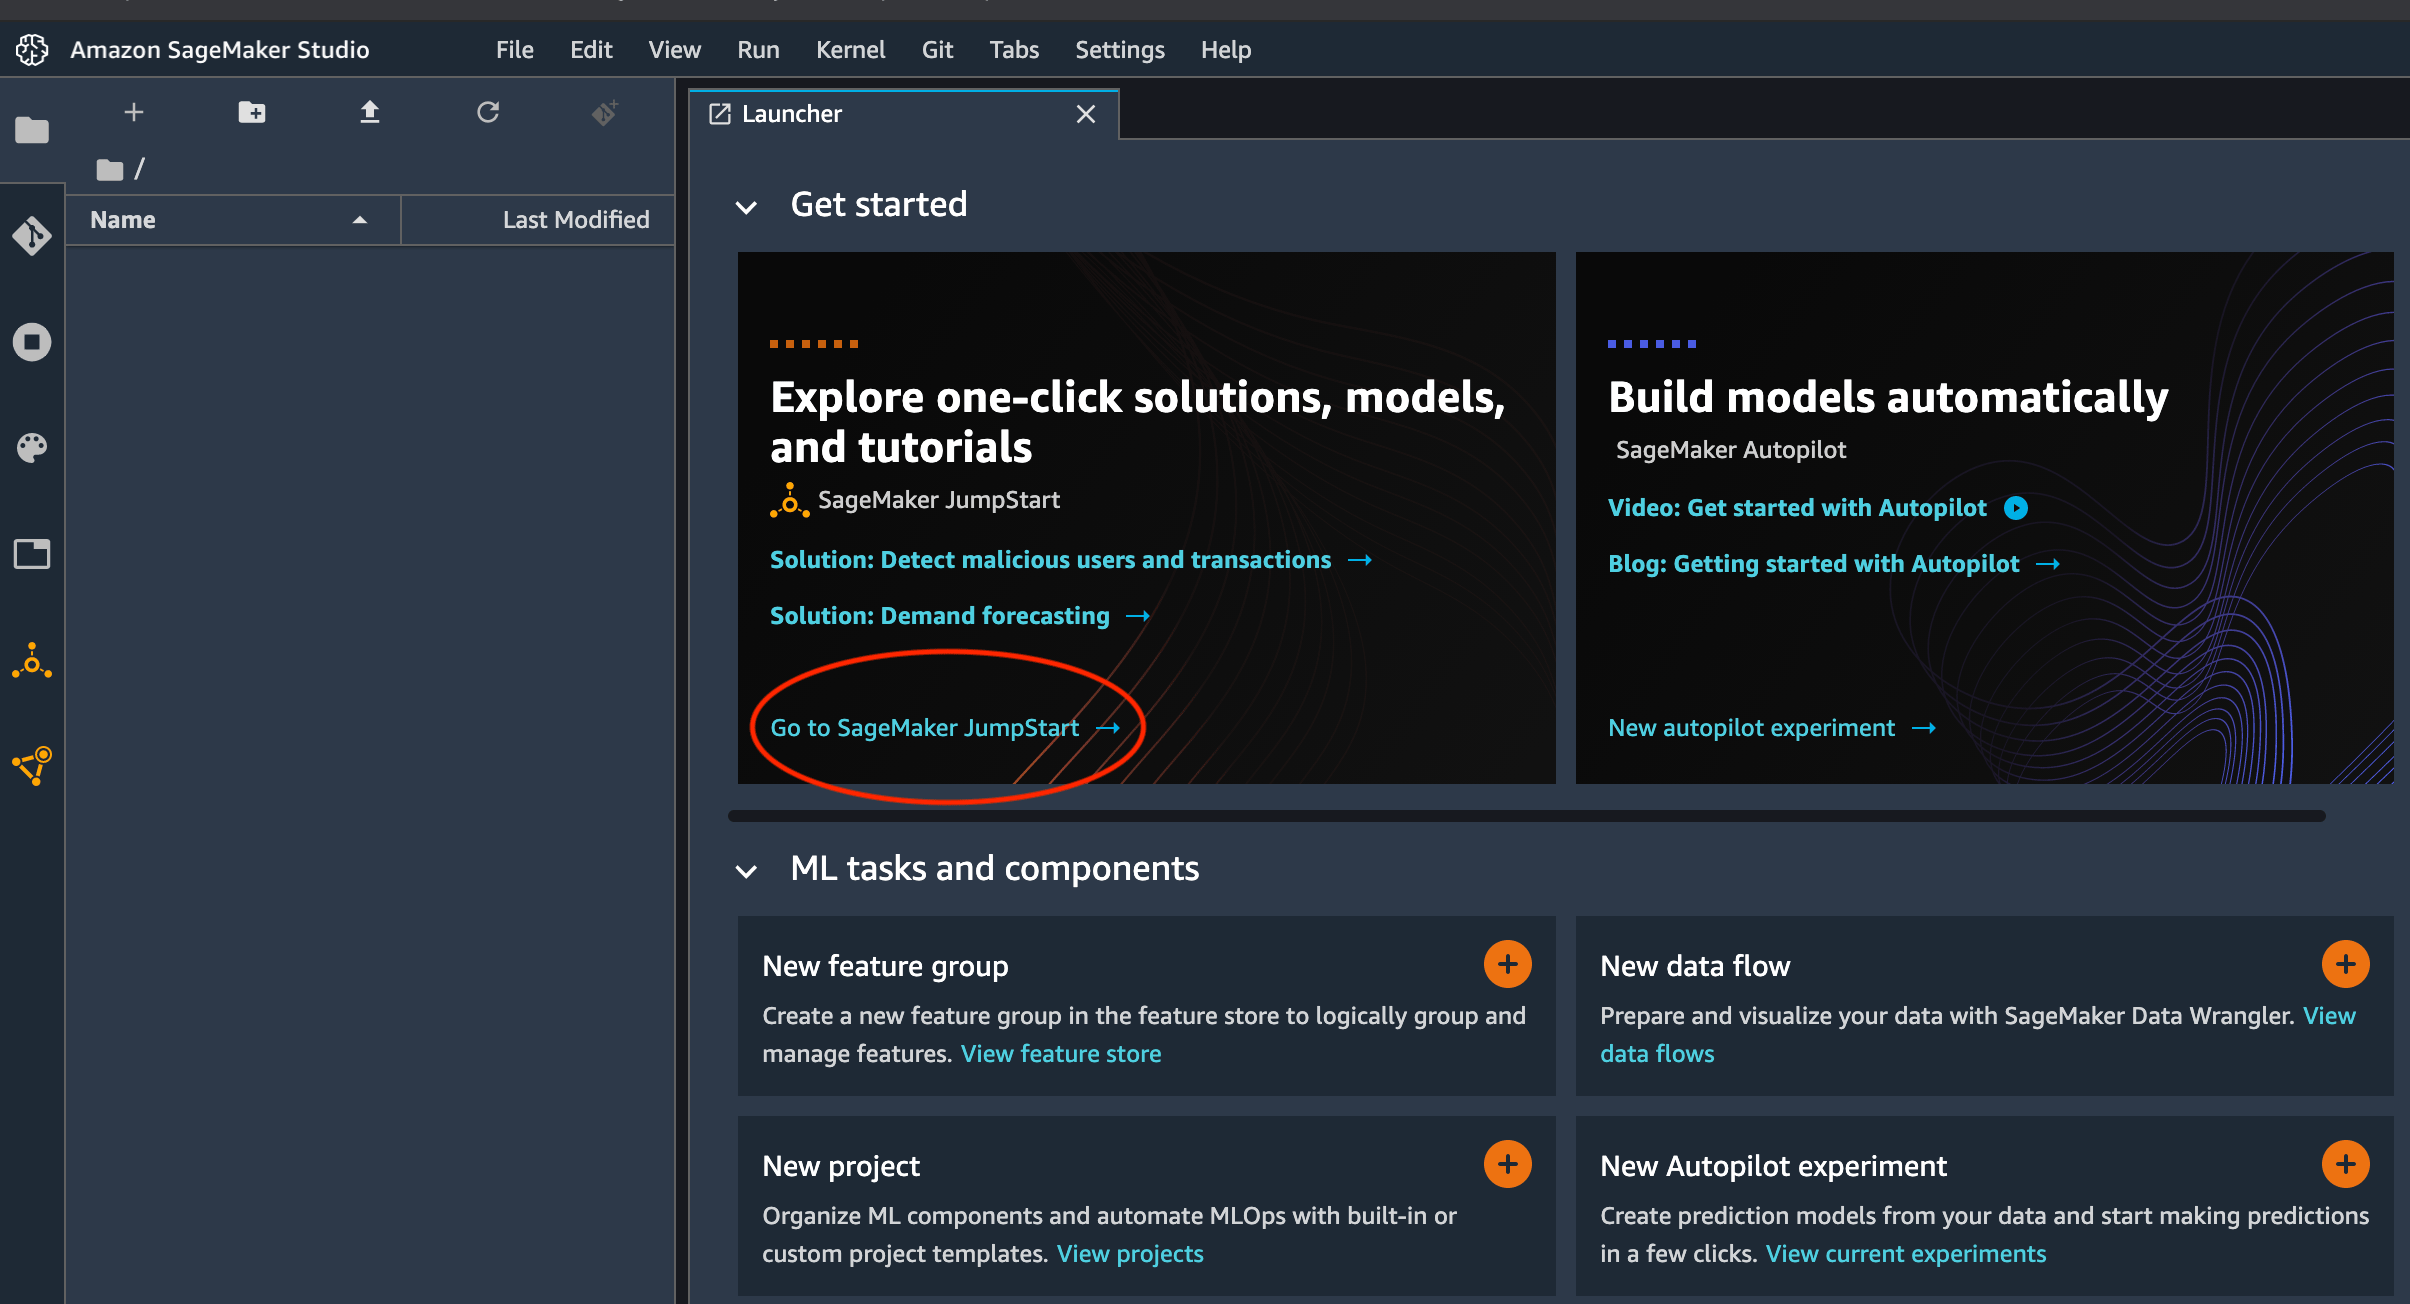
Click Go to SageMake JumpStart.
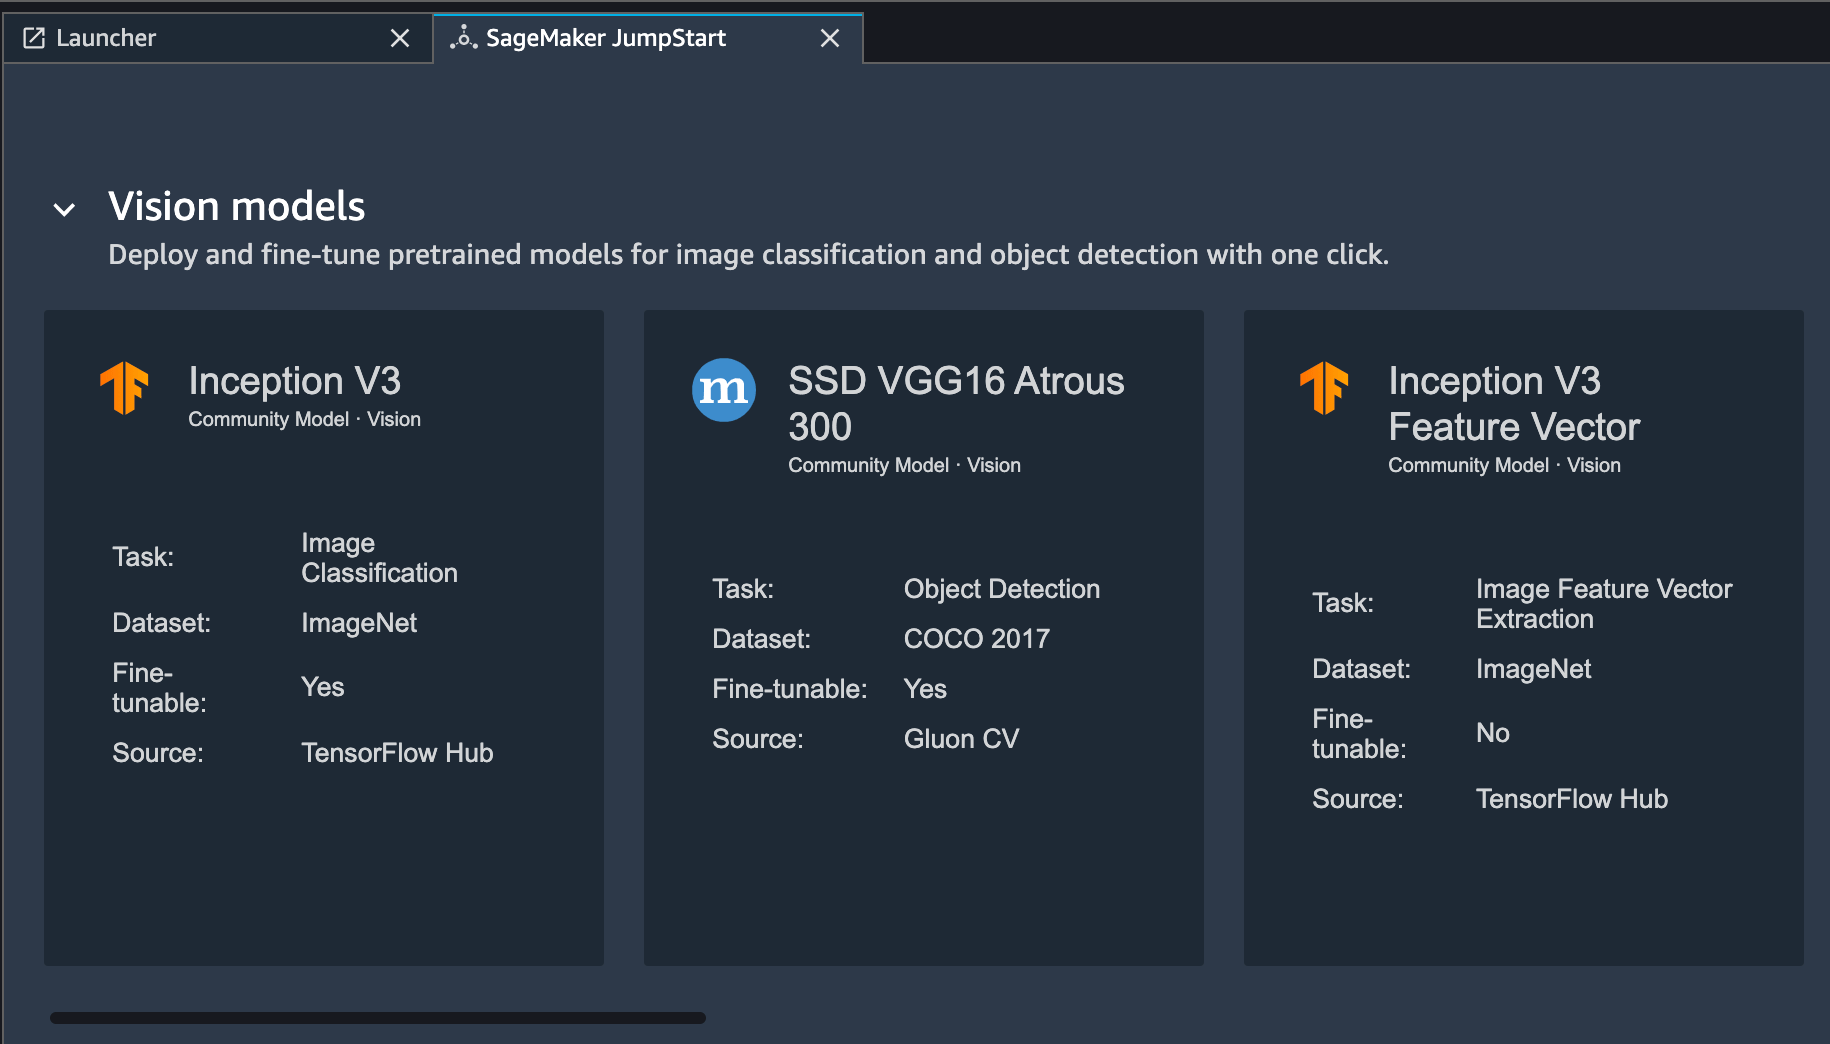
Locate, and click on Inception V3.
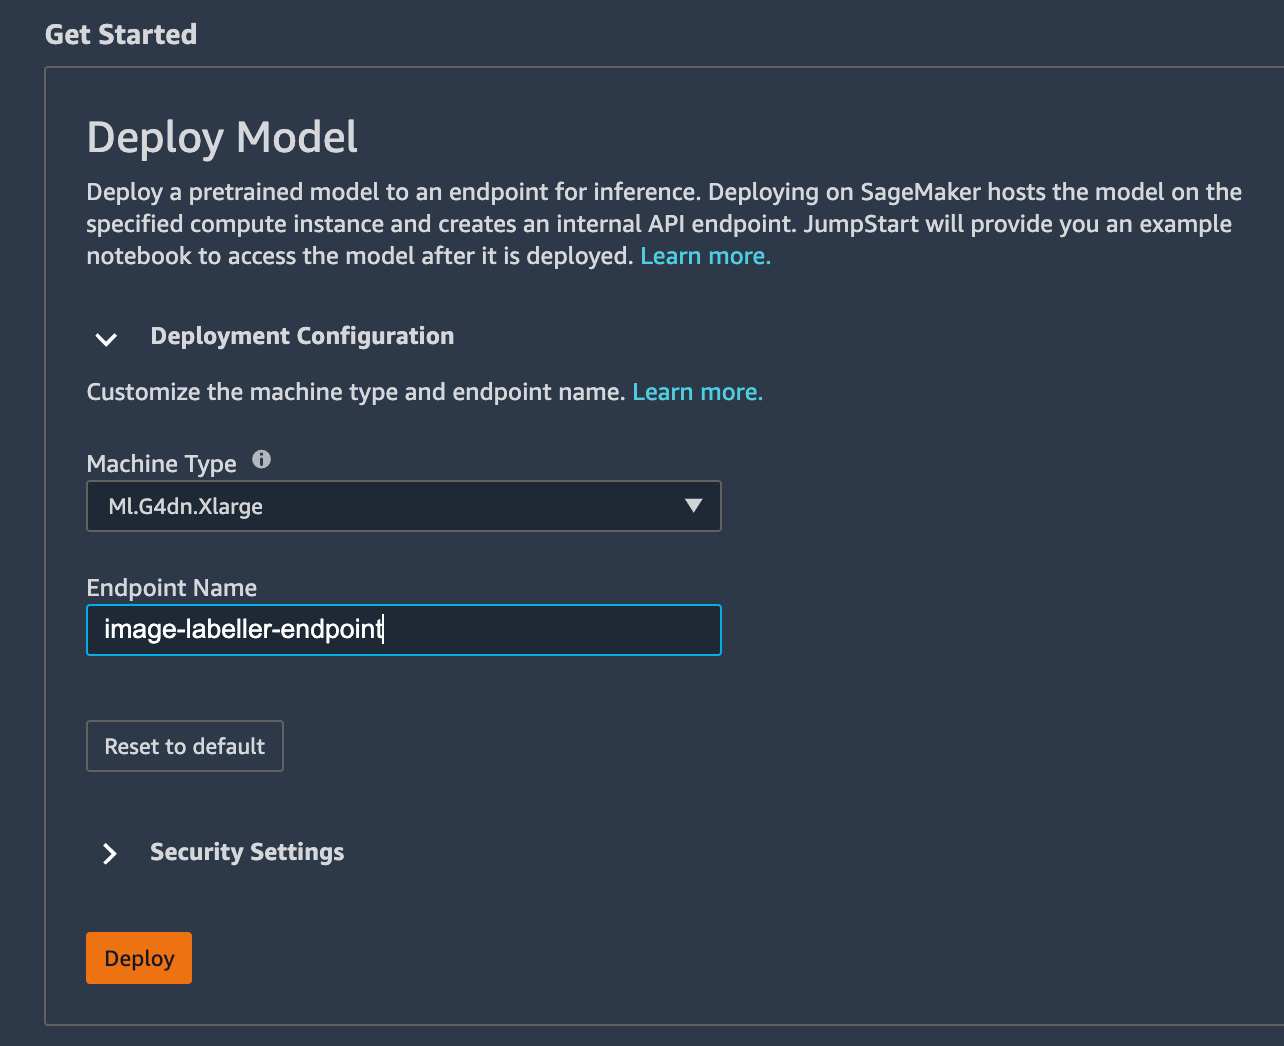
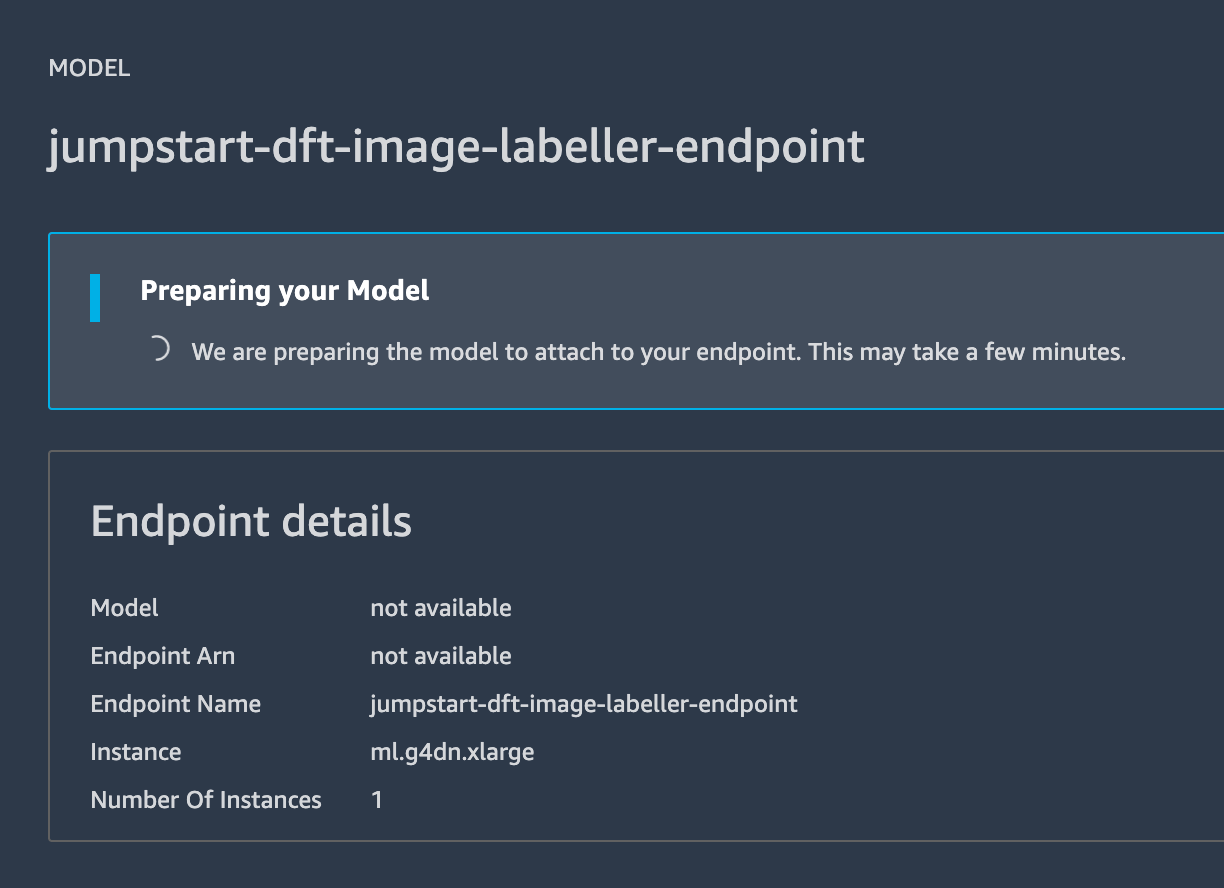
Change the Machine Type to ml.m5.large, change the Endpoint Name to something more readable like “image-labeller-endpoint”, and click Deploy.
AWS SageMaker will start to deploy the model.
Click Open Notebook when the deployment is finished.
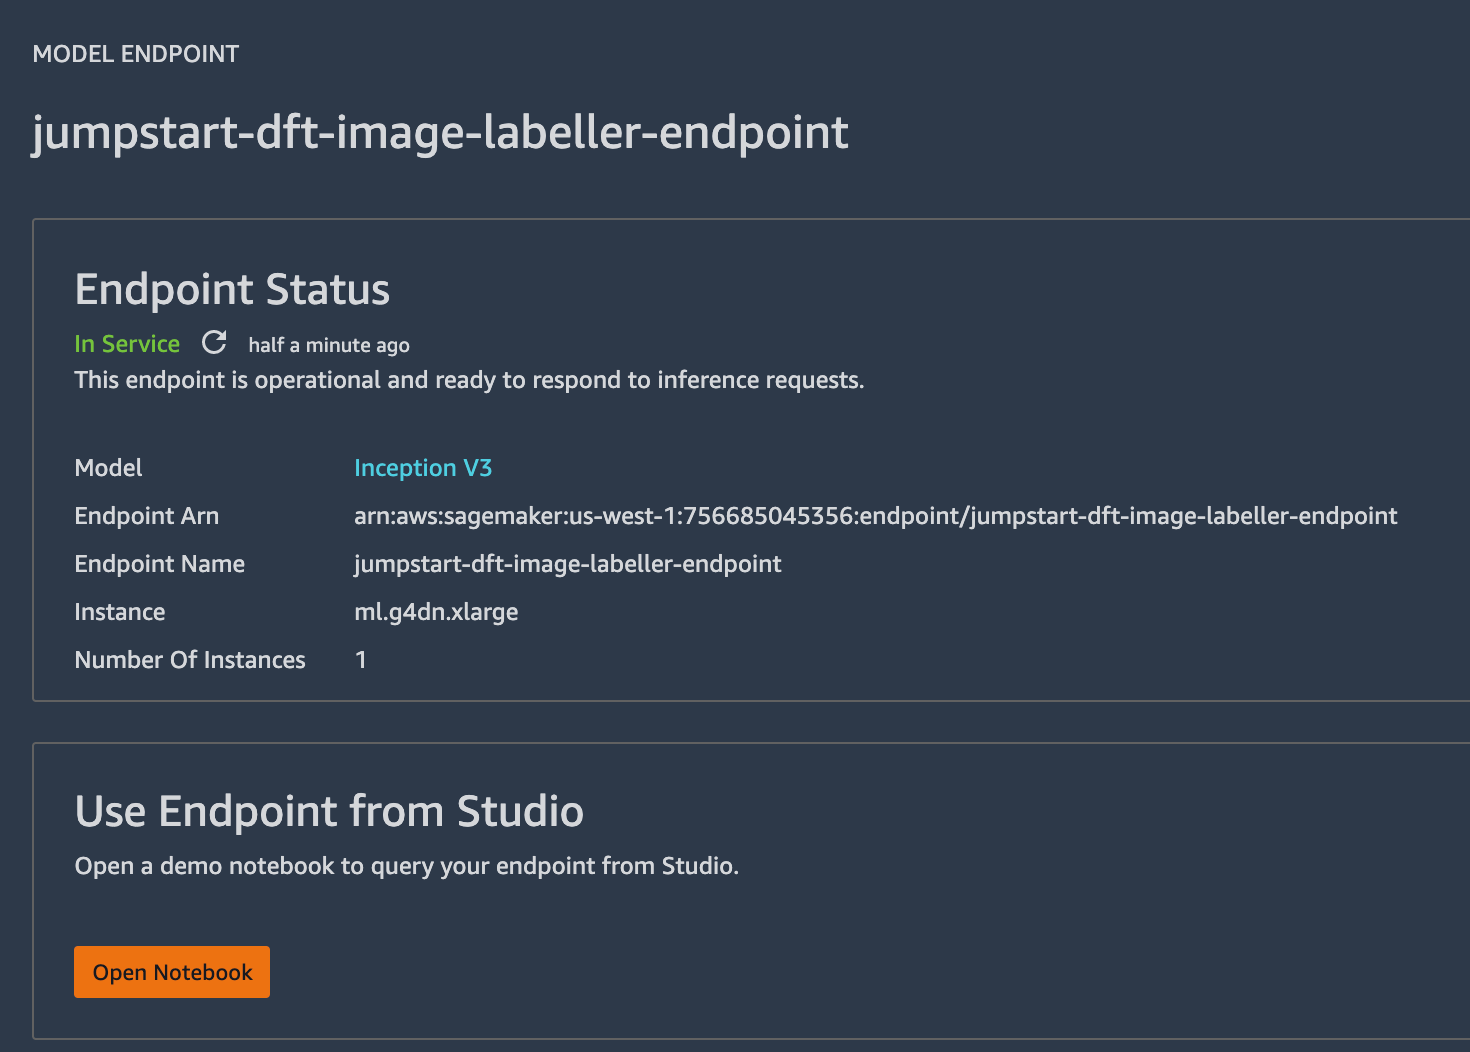
Run all three of the notebook code blocks in order to verify things are working. Make a note of the endpoint_name in query_endpoint. You need to add this, and the region your AWS SageMaker notebook is in to the InvokeLabeller AWS Lambda.
For information on how to use Jupyter notebooks please read the documentation.
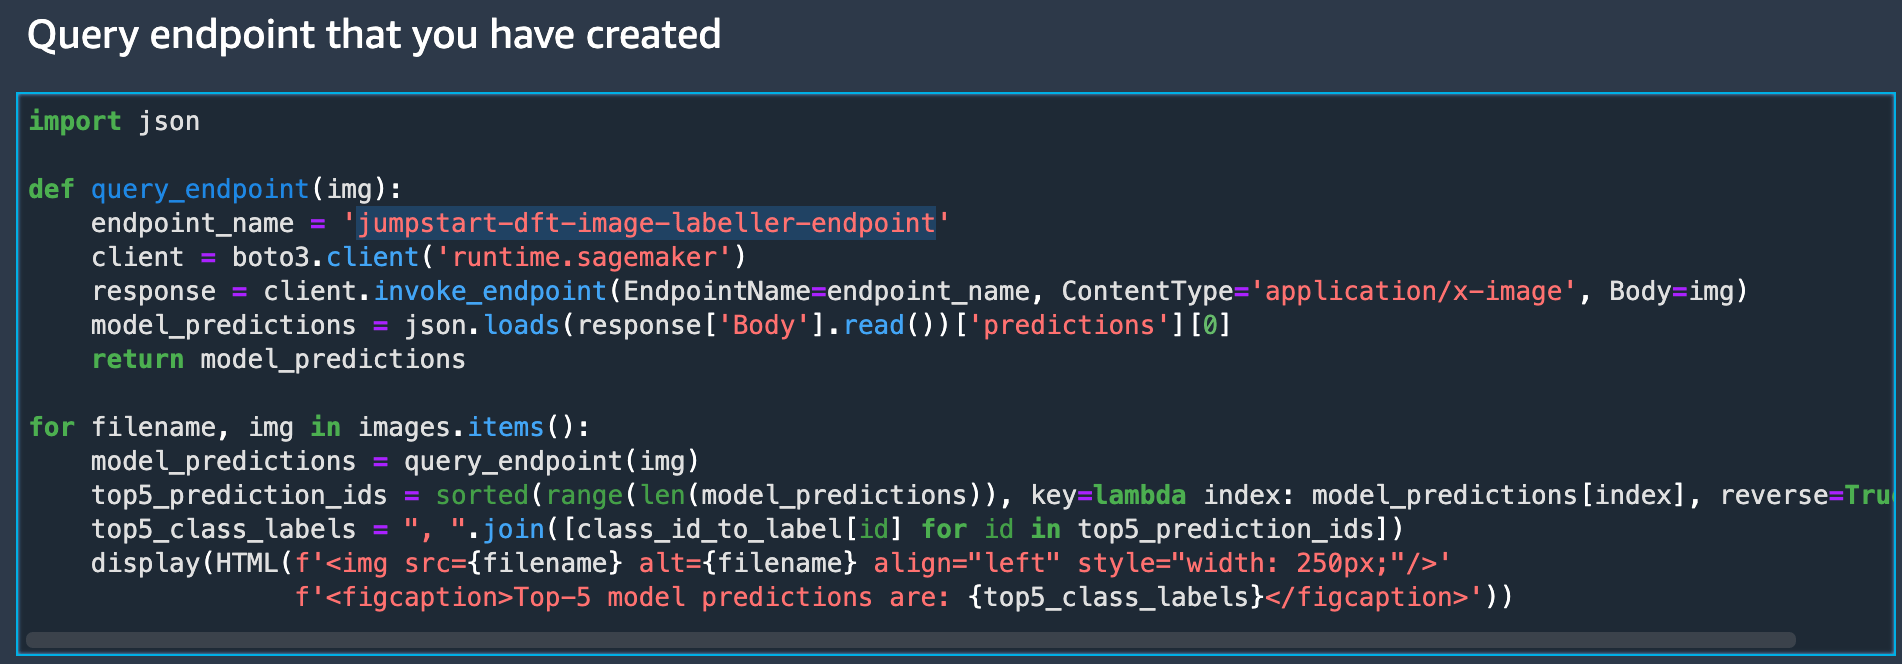
Open InvokeLabeller’s src/app.py file and look for query_endpoint. change the endpoint_name, and client region_name to match your AWS SageMaker notebook.
def query_endpoint(img):
  endpoint_name = 'jumpstart-dft-image-labeller-endpoint'
  client = boto3.client(service_name='runtime.sagemaker', region_name='us-west-1')
  response = client.invoke_endpoint(EndpointName=endpoint_name, ContentType='application/x-image', Body=img)
  model_predictions = json.loads(response['Body'].read())['predictions'][0]
  return model_predictions
Share this article
Next topic
Recommended reading
Bookmark these resources to learn about types of DevOps teams, or for ongoing updates about DevOps at Atlassian.

DevOps community

DevOps learning path